
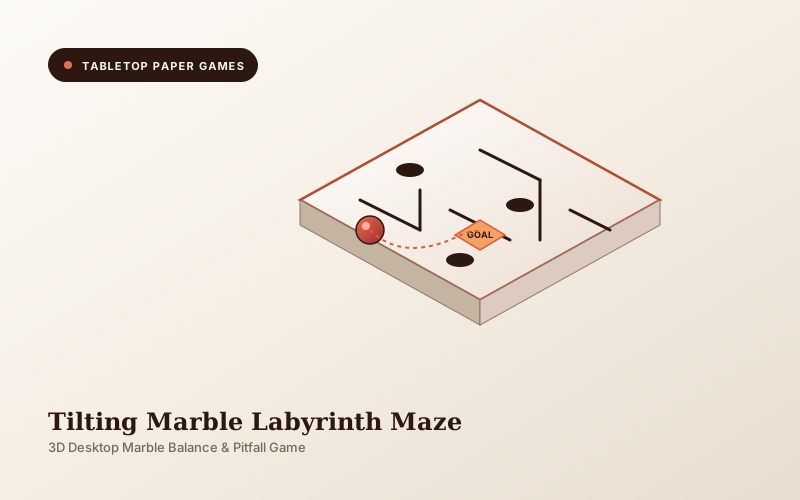
How to Create a 3D Tilting Marble Labyrinth Maze
Cardboard Desktop Balance Maze with Pitfalls & Multi-Lane Routes
What You Need Before Starting
Folding Instructions (5 Steps)
Follow each step in order. Press your folds firmly against the table using your thumbnail or a ruler for maximum performance.
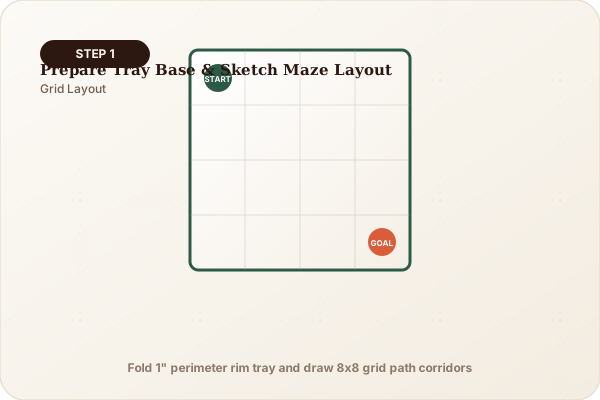
Prepare the Tray Base & Sketch Maze Layout
Use a shallow cardboard tray (approx. 8x8 inches with 1-inch raised rims). Use a pencil to sketch your maze path with a Start point, branching paths, and a Goal zone.
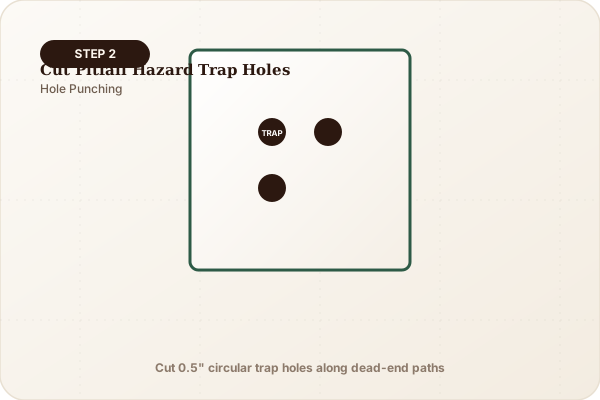
Cut Pitfall Hazard Trap Holes
Carefully cut 3 or 4 circular trap holes along tempting shortcut paths that are just slightly larger than your marble.
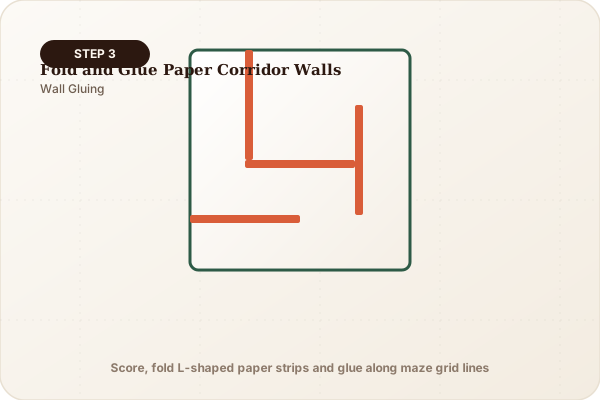
Fold and Glue Paper Corridor Walls
Cut cardstock into 1-inch strips. Fold a 1/4-inch bottom tab along the length of each strip to create an "L" shaped wall. Glue the walls along your pencil lines.
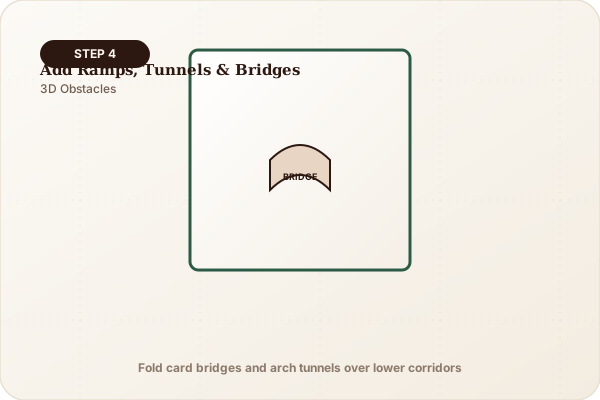
Add Ramps, Tunnels & Bridges
Fold small paper arches over corridors to create tunnels, and build gentle inclined paper ramps for extra 3D challenge.
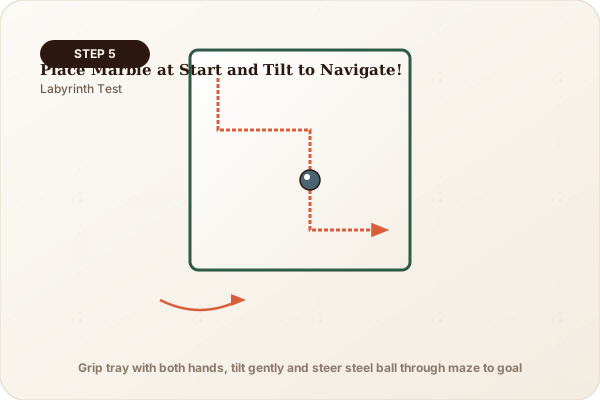
Place Marble at Start and Tilt to Navigate!
Drop your marble at the Start corner. Hold the tray with both hands, gently tilting it to guide the marble past pitfalls all the way to the Goal!
Gravitational Potential Energy & Inclined Plane Kinetics
When holding the maze level, gravity pulls straight downward. Tilting the tray creates an inclined plane where a vector component of gravity acts parallel to the tray floor, accelerating the marble along the corridor. Controlling the tilt angle modulates the marble’s speed and turning inertia.
Gentle, micro-tilts prevent the marble from gaining excessive angular momentum that could cause it to overshoot corners into trap holes.
Skills Your Child Develops with This Craft
Bilateral Vestibular & Proprioceptive Balance
Using subtle two-handed tilt adjustments develops fine motor calibration and spatial balance.
Algorithm & Maze Path Architecture
Designing branching paths, dead ends, and solution routes builds algorithmic planning skills.
Patience, Focus & Emotional Regulation
Navigating narrow pathways near pitfall trap holes builds frustration tolerance and sustained attention.
Fun Family Mini-Games to Play
The Stopwatch Speed-Run Challenge
Time yourself navigating from Start to Goal. Try 3 runs to set your personal best speed record without falling into a trap hole.
Blind-Navigation Cooperative Challenge
Player 1 wears a blindfold and tilts the maze while Player 2 gives verbal directions ("Tilt forward slightly, tilt left, stop!").
Parent Note:
Cardboard mazes provide endless creative redesign opportunities. When children finish one layout, they can easily build modular new walls and challenges.
More Projects in Tabletop Paper Games & Beyond
How to Create Tabletop Paper Flick Football
Fold an ultra-durable triangular paper football in under 5 minutes and master the classic tabletop game of kickoffs, field goals, and finger dexterity.
How to Create Tabletop Paper Finger Air Hockey
Fold compact paper hockey pucks, finger striker mallets, and corner goalposts to host thrilling fast-paced air hockey tournaments on any smooth desk.
How to Create an Origami Lever Catapult
Construct a sturdy origami paper catapult powered by elastic tension or lever impulse that launches crumpled paper ammo into scoring target cups.