
Rubber-Band Wind-Up CD Wheel Friction Racer
Elastic Torsion Power, Axle Torque & High-Grip Wheels
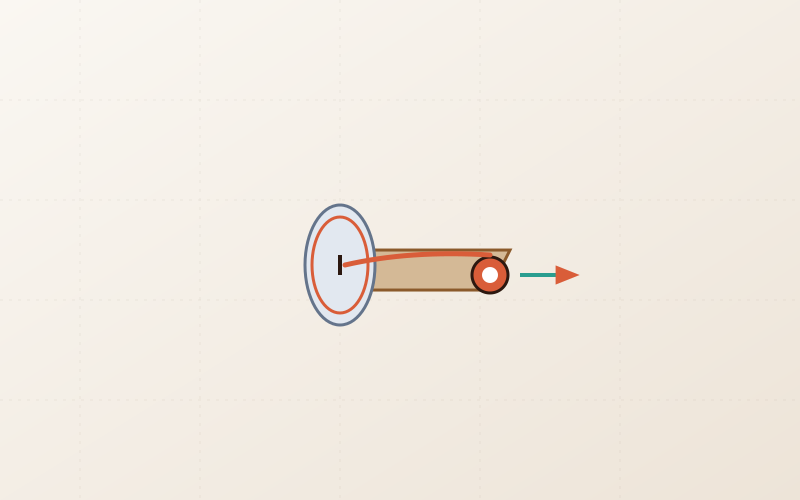
Household Scraps & Tools Needed
Assembly Instructions (5 Steps)
Follow each step carefully. Work together to clean waste, score precise cuts, align pivots, and test kinetic mechanics.
Cut the Cardboard Chassis & Drive Notch
Cut a rectangular cardboard base (20cm long, 8cm wide). Cut a 4cm x 4cm square notch in the rear center to give the rubber band room to wind around the rear axle.
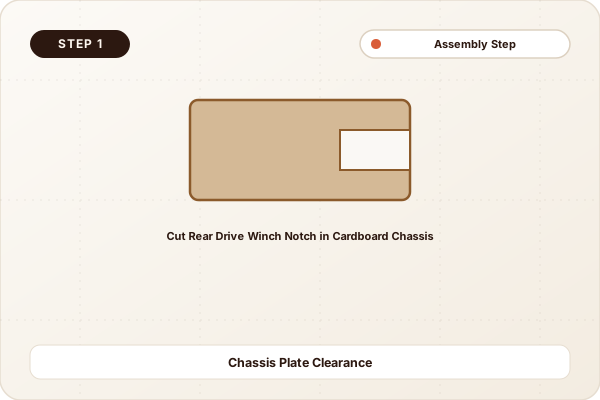
Glue Axle Straw Bushings Beneath Chassis
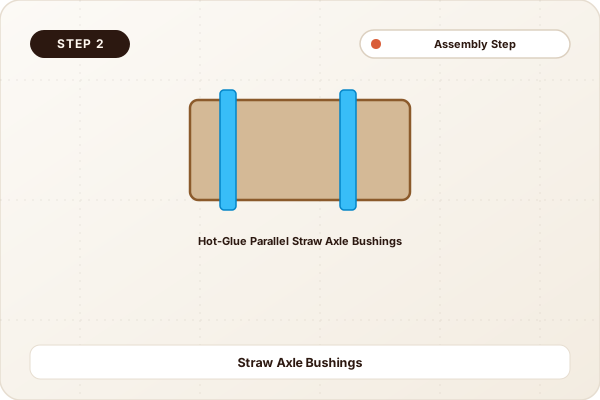
Glue a straw across the front of the chassis, and glue two separated straw segments across the rear notch. Ensure both axles are strictly parallel.
Assemble CD Rear Wheels & Axle Catch Hook
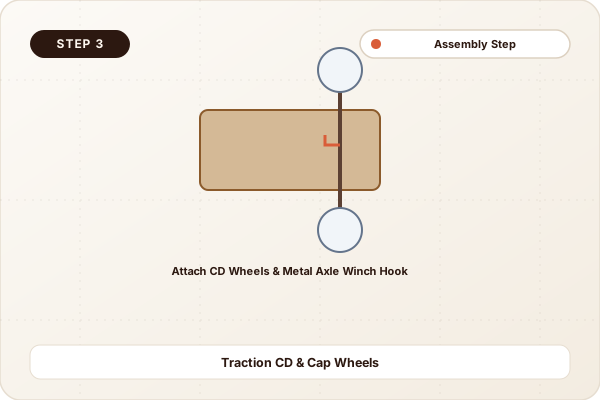
Glue two CDs onto the ends of the rear skewer axle using bottle caps as center hubs. Glue a tiny toothpick peg in the middle of the rear axle inside the notch to catch the rubber band.
Mount Front Wheels & Anchor Drive Band
Mount bottle cap wheels on the front axle. Loop one end of a long rubber band around the front chassis anchor post, and loop the other end over the rear axle peg.
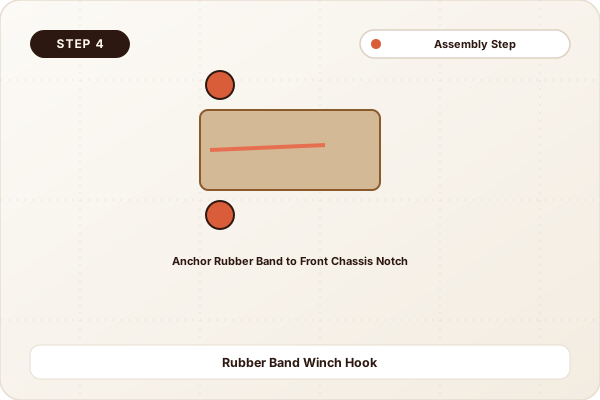
Wind Backward, Release & Zoom
Roll the car backward on the floor to wind the rubber band tightly around the rear axle. Set the car down, let go, and watch the stored torque rocket the racer forward!
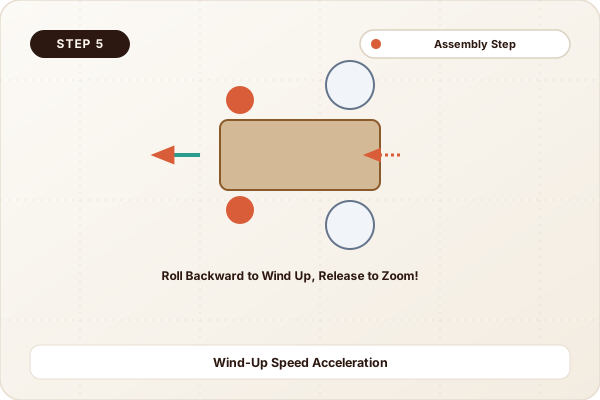
Torsional Elastic Energy & Friction Coefficient
Winding the rear axle twists the rubber band, storing torsional potential energy. When released, the untwisting band applies rotational torque to the large CD wheels, propelling the chassis forward.
Large diameter rear wheels travel further per axle rotation, while rubber tire treads prevent wheel-spin burnout by boosting static friction.
Skills Your Child Develops with This Project
Torsion Drive Mechanics
Understanding how winding elastic bands around an axle transfers rotational torque.
Traction & Surface Friction Tuning
Adding rubber grip rings around smooth CD rims to convert wheel spin into forward motion.
Chassis Alignment & Weight Balance
Distributing chassis weight to prevent front-wheel liftoff during acceleration.
Fun Family Experiments & Mini-Games
The 10-Meter Drag Race
Wind the rear wheels 15 rotations and time how fast your racer can cross a 10-meter hallway finish line.
Tire Tread Traction Test
Compare car performance with bare plastic CD rims vs. rubber-band lined tire rims on polished floorboards.
Parent Note:
An exceptional hands-on engineering challenge that teaches energy storage, torque, and traction mechanics.
More Upcycled Projects in Old CD & Bottle-Cap Mechanics & Beyond
Frictionless CD & Balloon Air-Cushion Hovercraft
Build a desktop hovercraft using an old CD, a pop-top bottle cap, and a balloon that glides across smooth surfaces on a cushion of air.
High-Velocity CD Gyroscopic Precision Spinning Top
Construct a precision gyroscopic spinning top using an old CD, a marble pivot ball, and a bottle-cap grip to explore rotational physics and stability.
Newton’s Optical Color-Wheel Fusion Spinner
Construct Sir Isaac Newton’s classic color spectrum wheel on a repurposed CD using string and bottle caps to observe primary colors fuse into white light.