Mosaic DIY Stepping Stones: Keepsake Garden Pathway Art
Cast durable concrete stepping stones adorned with sea glass, polished pebbles, handprints, and mosaic tiles.

Cement Hydration Chemistry & Hydraulic Setting
Scientific Insight
Concrete does not dry by evaporation; it hardens via a chemical hydration reaction where water bonds with calcium silicate crystals, forming rock-solid artificial stone.
Ecological Value
Creates permanent garden landmarks that guide footsteps and prevent soil compaction around delicate plant root zones.
Developmental Skills & Physical Milestones
Mosaic Pattern Composition
Arranging glass tiles into spiral, flower, or geometric sunburst designs before pressing into wet mortar.
Tactile Handprint Embossing
Pressing hands with steady, firm downward pressure into semi-cured concrete without slipping.
Patience & Chemical Cure Waiting
Understanding that chemical crystallization requires 24 to 48 hours of undisturbed rest.
Gather materials from nature, your recycling bin, or household kitchen supplies before heading outdoors.
- Quick-setting concrete mix (Quikrete 5000 or stepping stone mix)
- Round plastic plant saucers or cake pans (for molds)
- Petroleum jelly or vegetable cooking spray (mold release)
- Sea glass, polished river pebbles, colorful ceramic tiles, seashells
- Rubber gloves, dust mask (adult use while mixing dry concrete), water & bucket
Step-by-Step Play Blueprint
Follow these 5 guided steps. Let your child take the lead in modifying and experimenting with the rules as play unfolds.
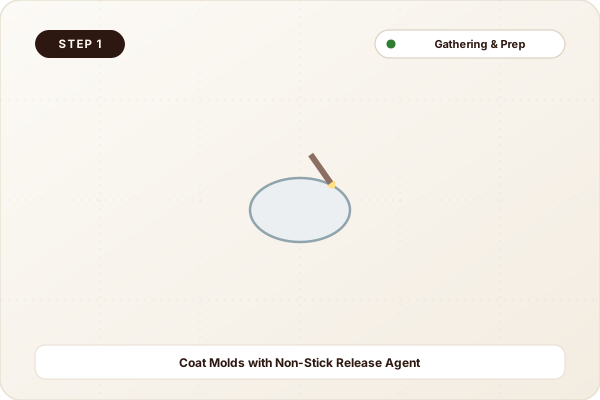
Coat Molds with Non-Stick Release Agent
Rub petroleum jelly or spray vegetable oil thoroughly inside a 10-inch plastic plant saucer or foil cake pan so the cured stone releases effortlessly.
Design the Mosaic Pattern on Paper First
Trace the circle onto paper. Have children arrange sea glass, smooth marbles, and shells into flowers, spirals, or initials on the template first.

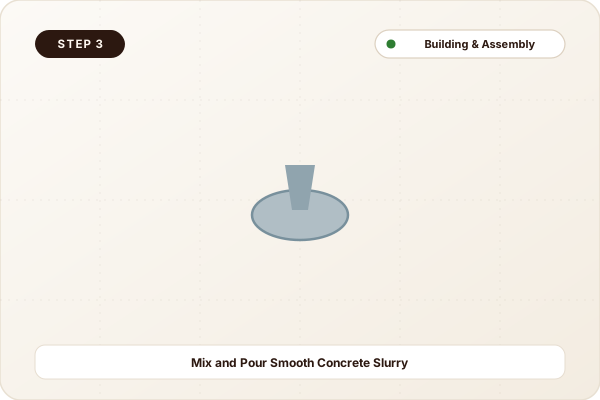
Mix and Pour Smooth Concrete Slurry
An adult mixes concrete and water in a bucket to the consistency of thick brownie batter. Pour into the mold 2 inches deep, tapping sides vigorously to release air bubbles.
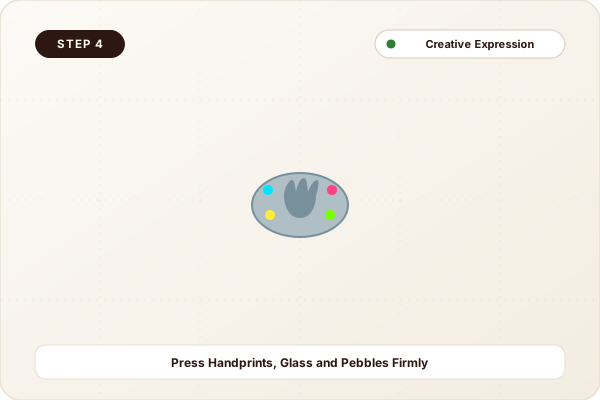
Press Handprints, Glass and Pebbles Firmly
Wait 15 minutes for concrete to firm up slightly. Have your child press their hand firmly into the center. Press mosaic stones around the border until flush with the concrete surface.
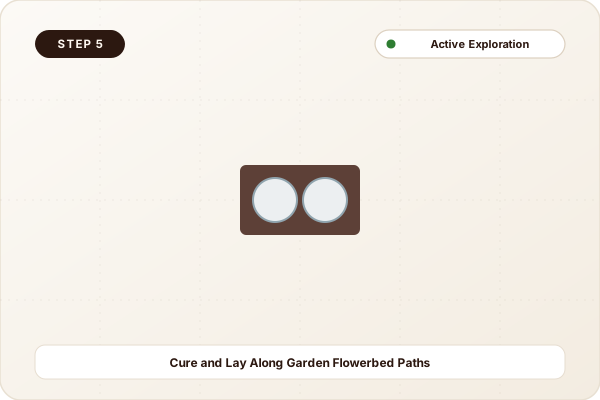
Cure and Lay Along Garden Flowerbed Paths
Mist stone with water, cover with plastic wrap, and let cure for 48 hours. Invert mold gently to pop out your stone, and set into garden soil alongside blooming flowers!
Adults should handle mixing dry concrete powder to prevent dust inhalation. Children must wear rubber gloves when touching wet alkaline concrete.
Fostering Autonomy & Calculated Risk
These keepsake stepping stones are cherished for decades. Looking back at tiny child handprints embedded along garden paths evokes profound family nostalgia.