
Conductive Dough & Coin Cell LED Glow Creature
Direct Current Circuits, Polarity & Sculptable Electromagnetism
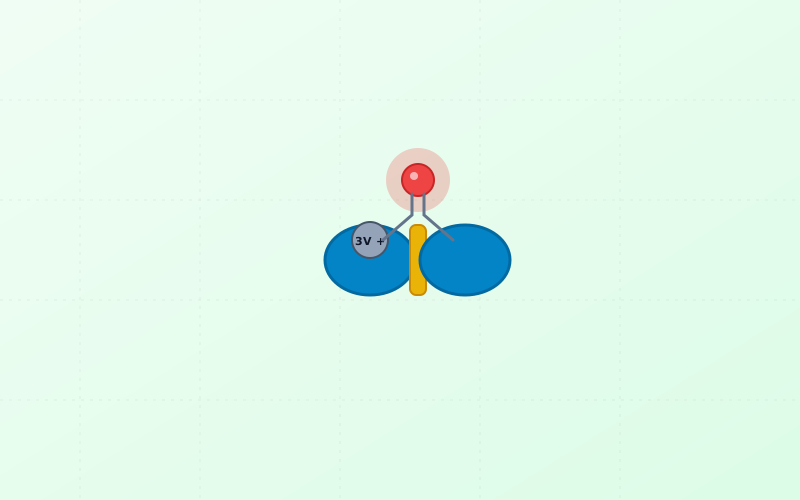
What You Need Before Starting
Assembly & Setup Instructions (5 Steps)
Follow each step in sequence. Encourage your child to participate in measuring, cutting, calibrating, and testing each mechanical and sensorial feature.
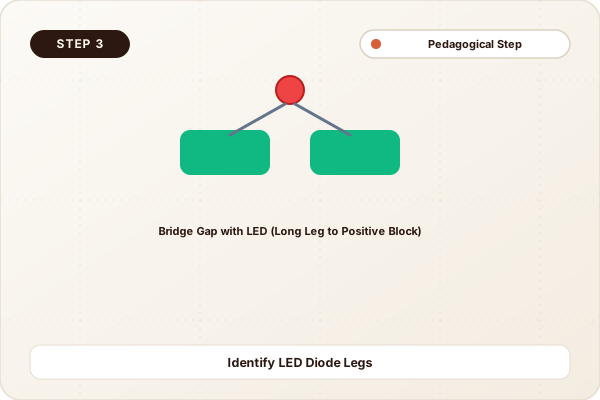
Prepare Conductive Salt Dough & Insulating Dough
Mix flour, water, lots of salt, and lemon juice for the salty conductive dough (colored blue). Mix flour, sugar, and oil for the insulating dough (colored yellow).
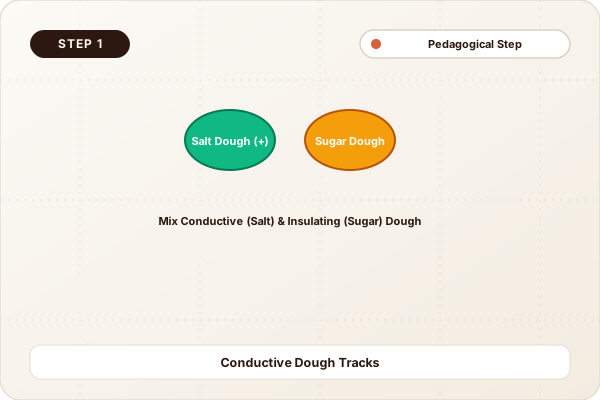
Shape Two Conductive Electrode Blocks
Roll two small cylinders of blue conductive dough. Place a thin barrier slice of yellow insulating dough between them so they do not touch directly.
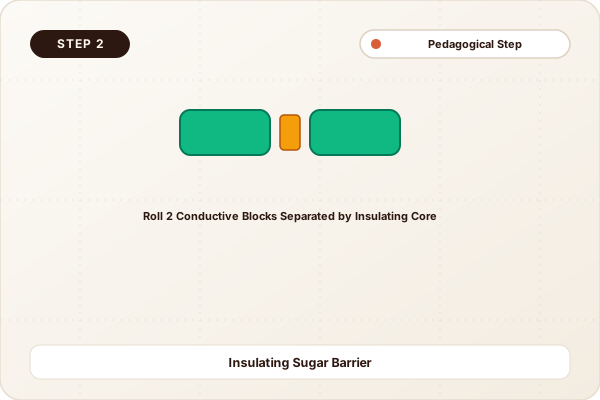
Bridge the Gap with an LED Diode
Spread the LED legs apart. Push the longer positive leg (anode) into the left dough block and the shorter negative leg (cathode) into the right dough block.
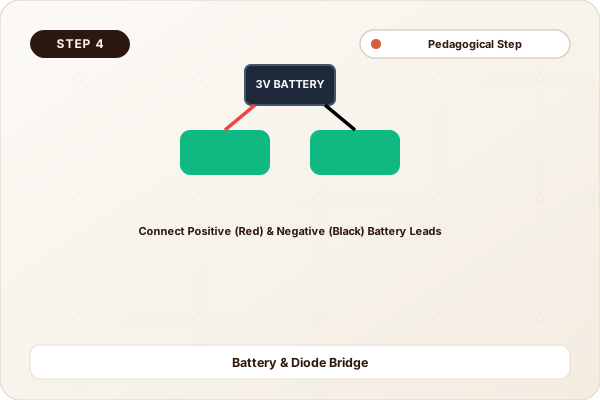
Connect the 3V Coin Cell Battery Power
Insert the positive (+) side of a 3V coin cell battery into the left dough block, and connect a wire or paperclip from the negative (-) side to the right dough block.
Sculpt Glowing Creatures & Multi-LED Arrays
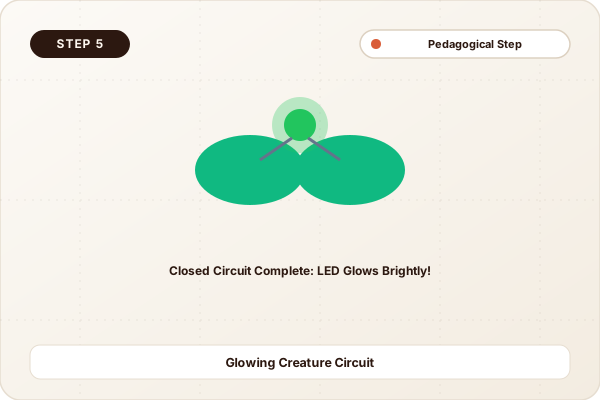
Add dough eyes, wings, and horns to sculpt glowing monsters, lightning bugs, or lighthouses. Add parallel LEDs across the dough boundary to illuminate multiple lights!
Direct Current (DC) Circuits & Semiconductor Polarity
Salt and lemon juice provide mobile sodium and chloride ions that conduct electricity through the dough. LEDs are diodes with strict polarity: current flows only from the positive anode (long leg) to the negative cathode (short leg).
Insulating dough (sugar-based) stops electricity from short-circuiting, forcing current to flow through the glowing LED filament.
Cognitive Milestones & Skills Developed
Electrical Circuit Schematics
Understanding closed loops, power sources, conductors, insulators, and loads.
Diode Polarity Identification
Recognizing positive (long leg) vs. negative (short leg) semiconductor terminals.
Sculptural Creative Engineering
Integrating electrical components into expressive 3D character sculptures.
Fun Family Explorations & Logic Games
The 3-LED Parallel Monster Glow
Bridge 3 different colored LEDs (red, green, blue) across the insulating dough seam and observe which colors shine brightest.
The Dough Switch Circuit
Create a movable dough "switch" finger that turns the LED on when pressed and off when lifted.
Parent & Educator Note:
Squishy circuits take the fear out of electronics. Because it uses safe 3V low-voltage coin cells, it is 100% child-safe and endlessly creative.
More Projects in Early STEM & Logic & Beyond
Intermeshing Spur Gear Train & Mechanical Transmission Puzzle
Build an interlocking modular gear train puzzle using corrugated cardboard gears, wooden dowel axles, and crank handles to explore mechanical transmission and speed multiplication.
Acrylic & Cardboard Magnetic Wand Tilt Marble Labyrinth
Construct a dual-layer handheld magnetic marble labyrinth where players navigate a steel ball through tricky cardboard trap doors using a magnetic stylus under the board.
Screen-Free Computational Thinking & Coding Critters
Build an unplugged coding board game featuring printable command directional tiles (Forward, Turn Left, Turn Right, Loop, If/Then) and cardboard critter figures.